Choose the right vault and document type, then check the upload result.
Find an existing document
Product location: /document-vault/all-documents
Open Documents and choose Vaults and a vault, or use All Documents to search across every module. In a vault's document list, search by name, description or identifier, and narrow the list by document type, workflow state, lock status, import status and date range. Sort by name, created or modified date, or file size, and page through the results.
All Documents lists QMS, vault, RMS, tender and other documents together, in a table or a tree grouped by source. Filter it by status and standard, choose columns, and open a document in the module that owns it. Search finds documents by name, description or document number across modules.
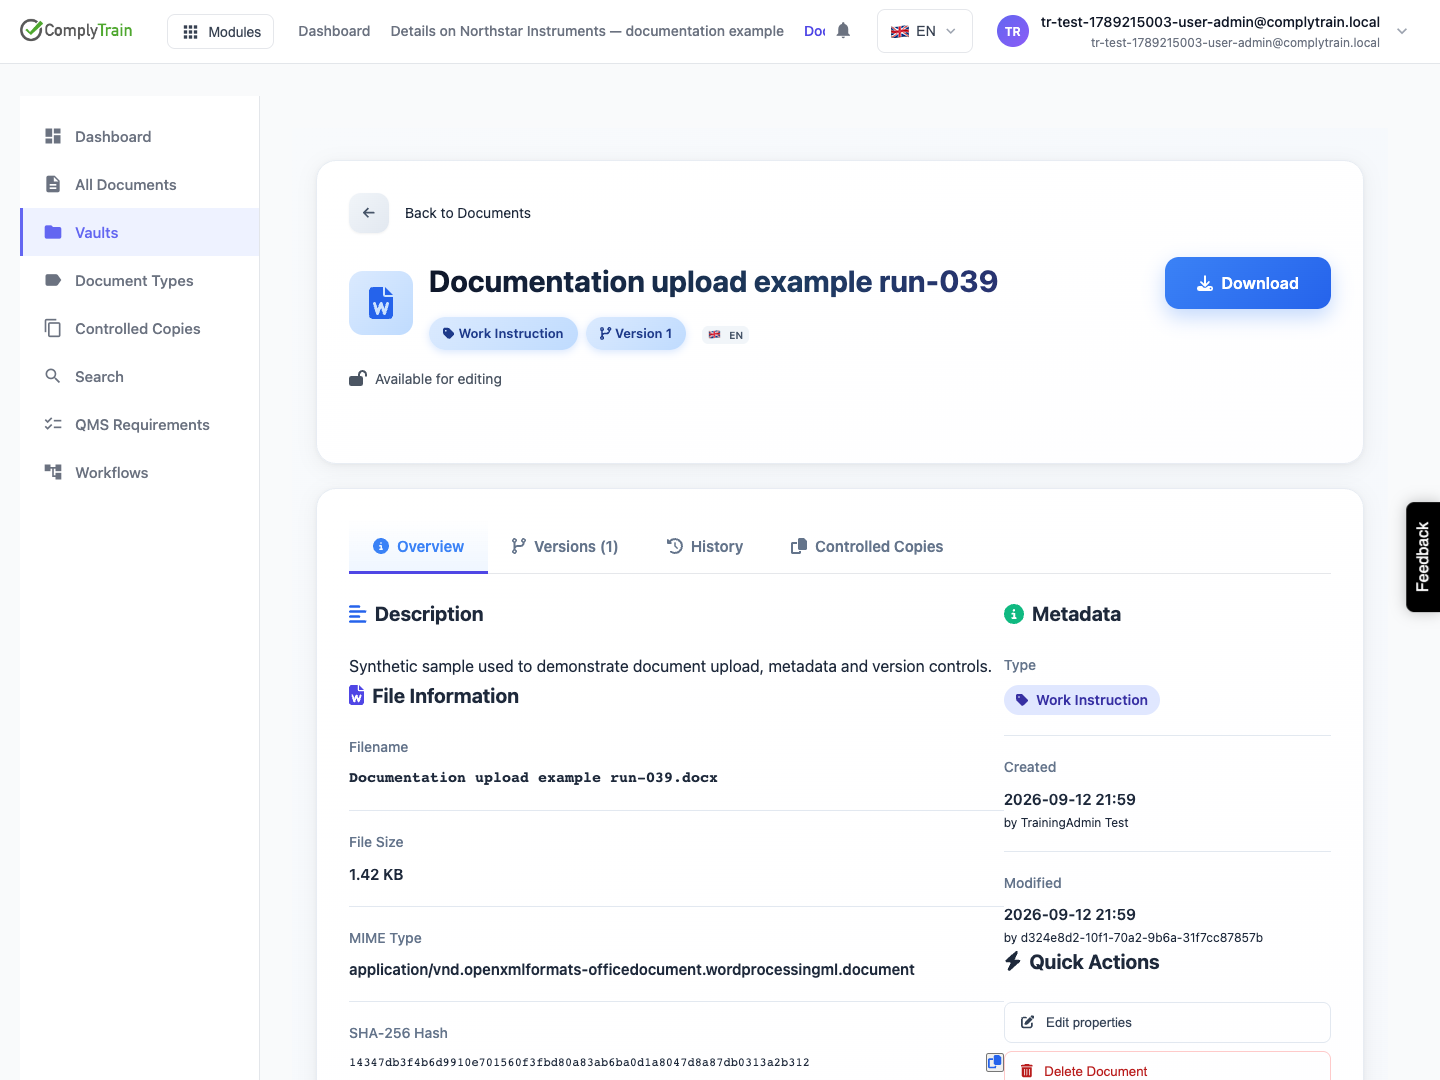
Open the document to check its identity, version and state before editing or using it as evidence. Similar names do not identify the same controlled version.
Upload a document
Product location: /document-vault/vaults/{vaultId}/documents/new (fallback: /document-vault/vaults)
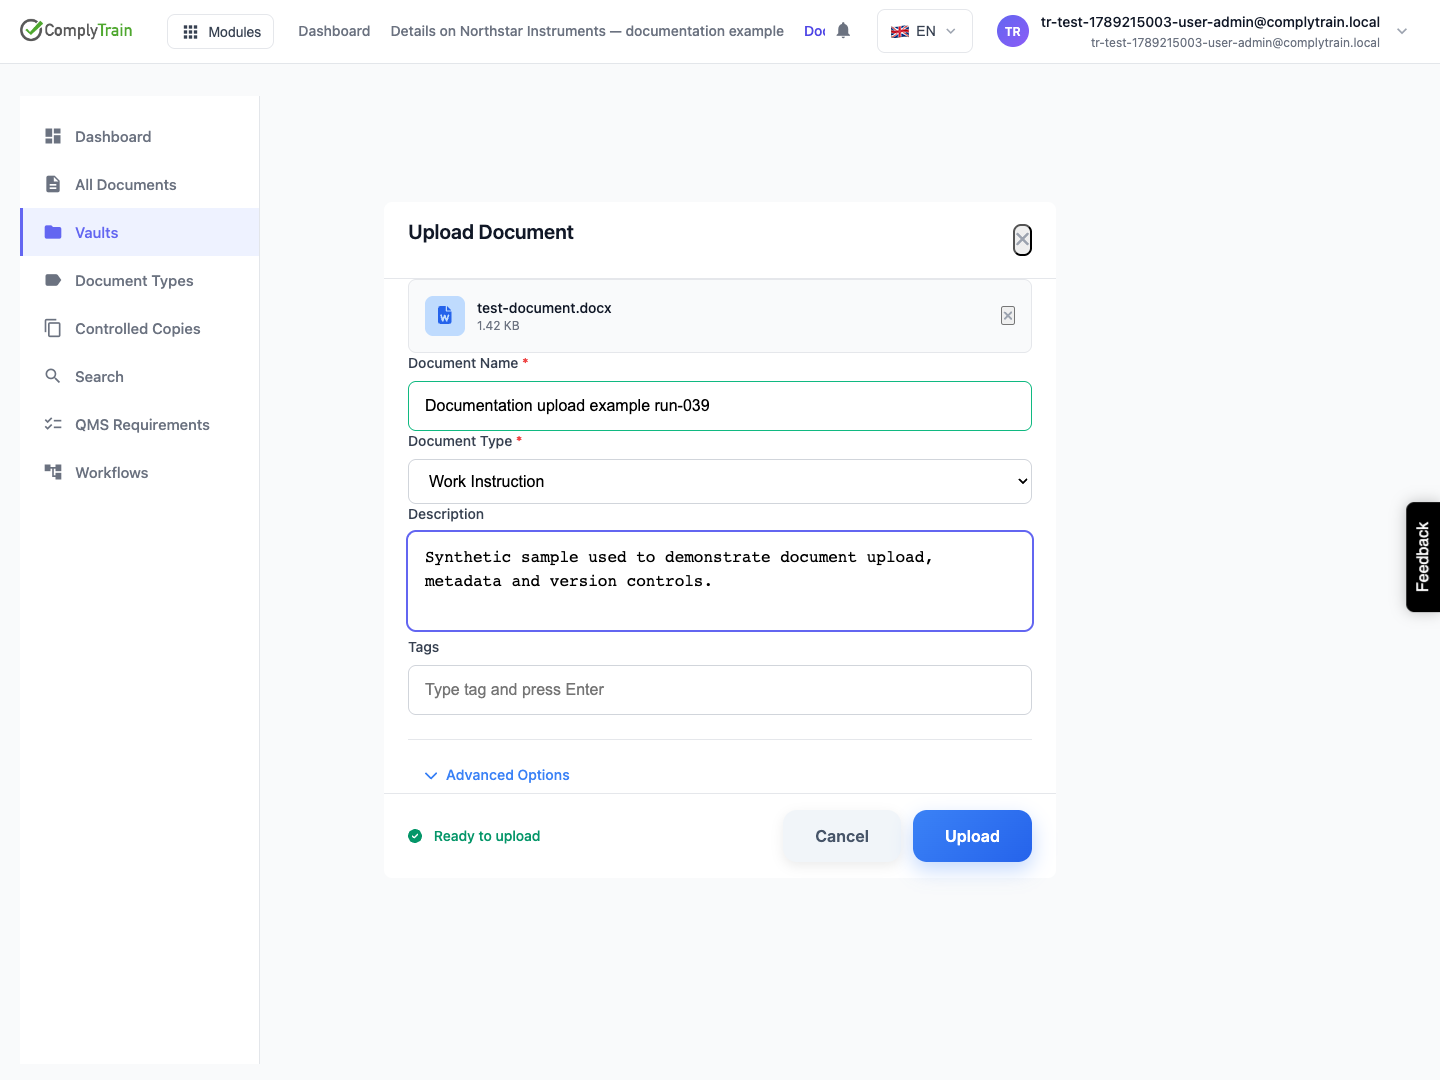
Open the vault and choose Upload Document.
Drop the file or choose it. The page lists the accepted formats and the maximum size (50 MB by default).
Enter the Document Name and choose a Document Type.
Optionally add a description and tags. Under Advanced Options, enter the Document Identifier, such as SOP-QC-001, which becomes the document's number, and any custom metadata fields.
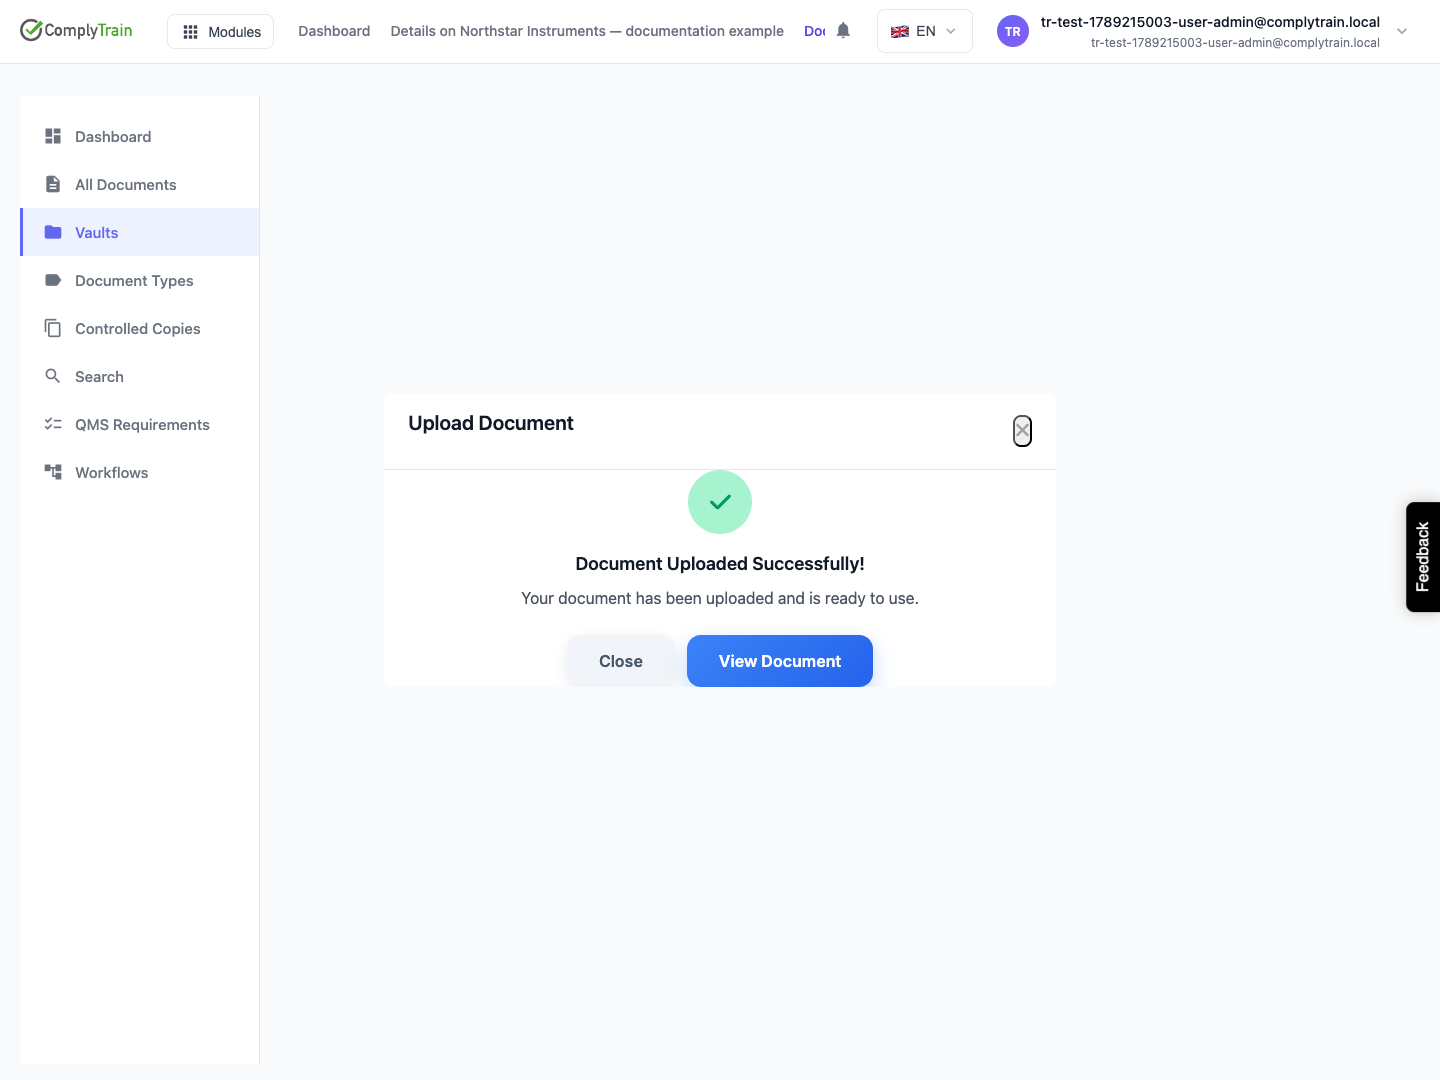
Choose Upload, then check the created document and its workflow state.
A new document starts in the initial state of its type's workflow. Document types and storage belong to the vault. If the needed type is missing or the file is rejected, ask the vault administrator to review that configuration.
Handle a batch
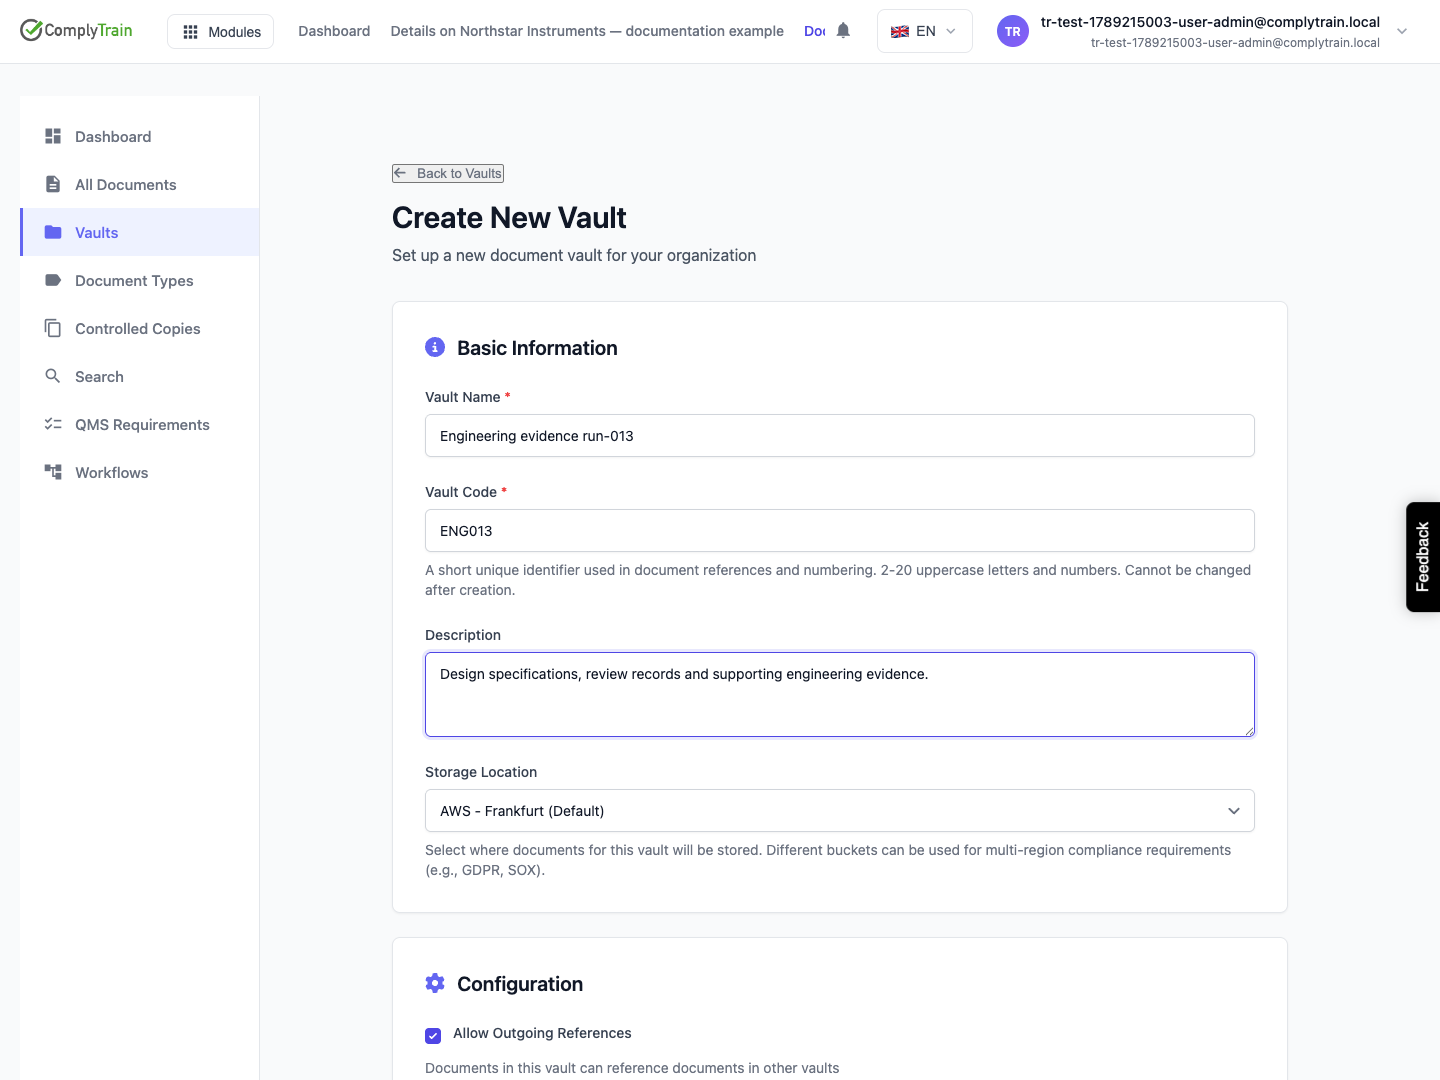
Product location: /document-vault/vaults/{vaultId} (fallback: /document-vault/vaults). Use the vault upload/import action.
Choose two or more files to upload a batch. Set a default document type and override it for individual files when needed. Inspect the receipt for submitted, succeeded and failed entries. Retry failed retries failures and skips documents already uploaded.
An upload does not establish that content is approved or indexed for AI use. Check the workflow and the file's AI processing separately.
Correct uploaded metadata
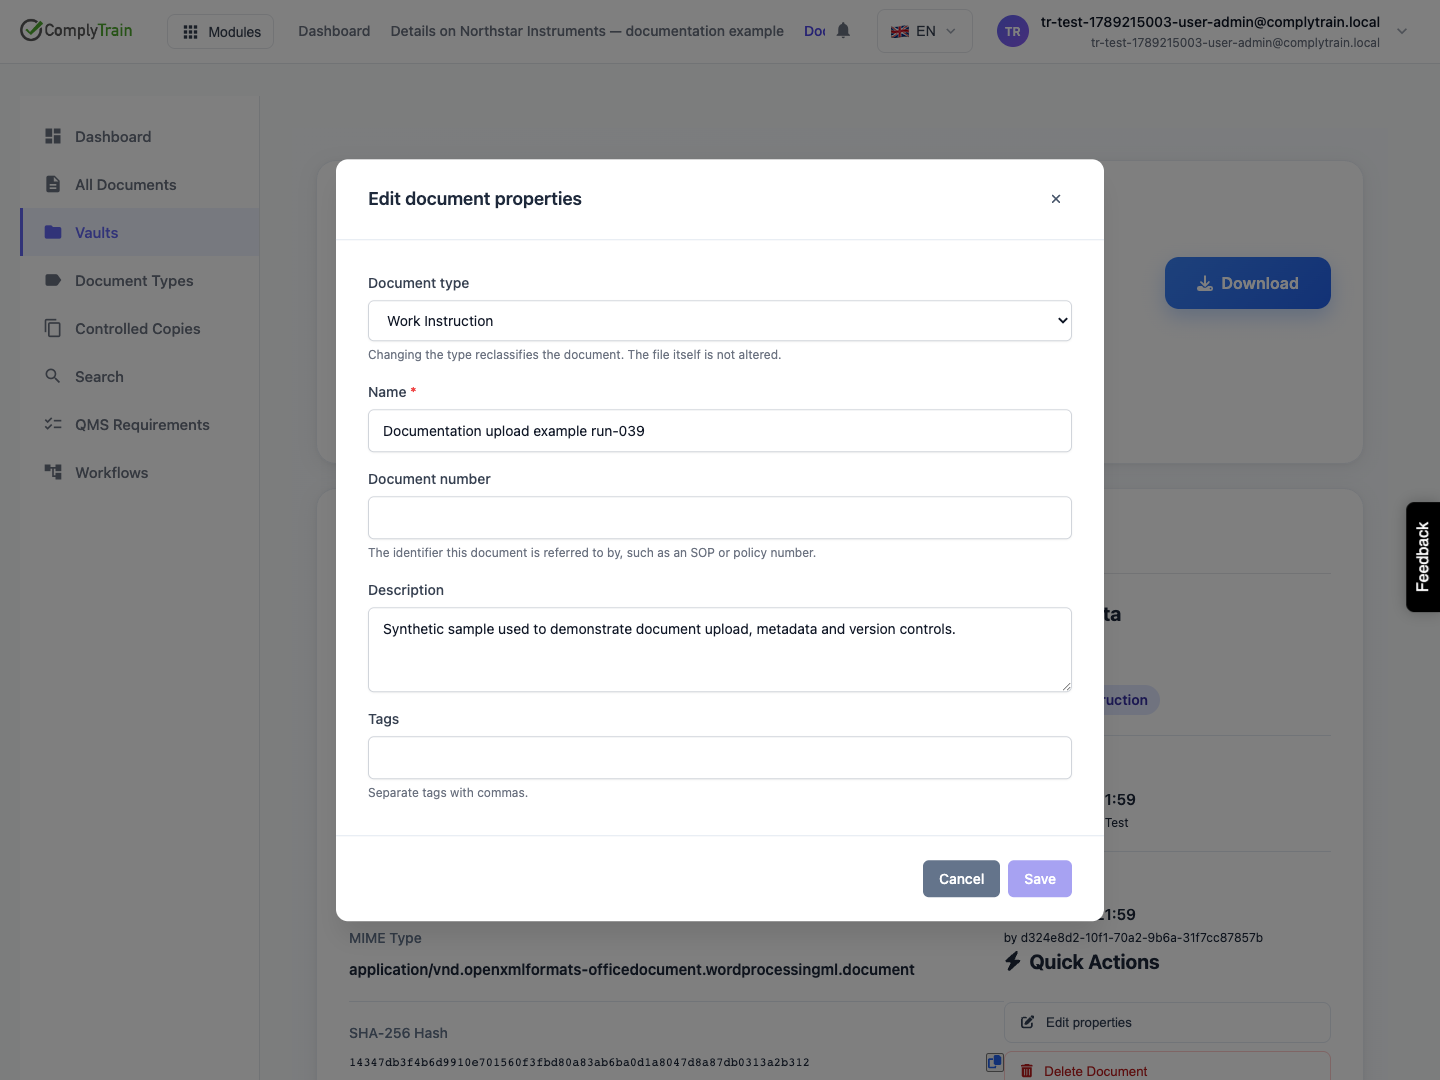
Product location: /document-vault/vaults/{vaultId}/documents/{documentId} (fallback: /document-vault/vaults). Open the document metadata or Edit action.
Open the document and choose Edit properties (also available as Edit in the document list). Review the type, the required name, the document number, the description and the comma-separated tags, and set the document's language. Changing the type reclassifies the record; it does not alter the uploaded file.
Save and reopen the document to confirm the correction. Use the document number as the stable identifier people use to refer to the procedure or policy. Changing properties is different from uploading a new version; see versions and locks.