
Define permitted states, transitions and the requirements for taking an action.
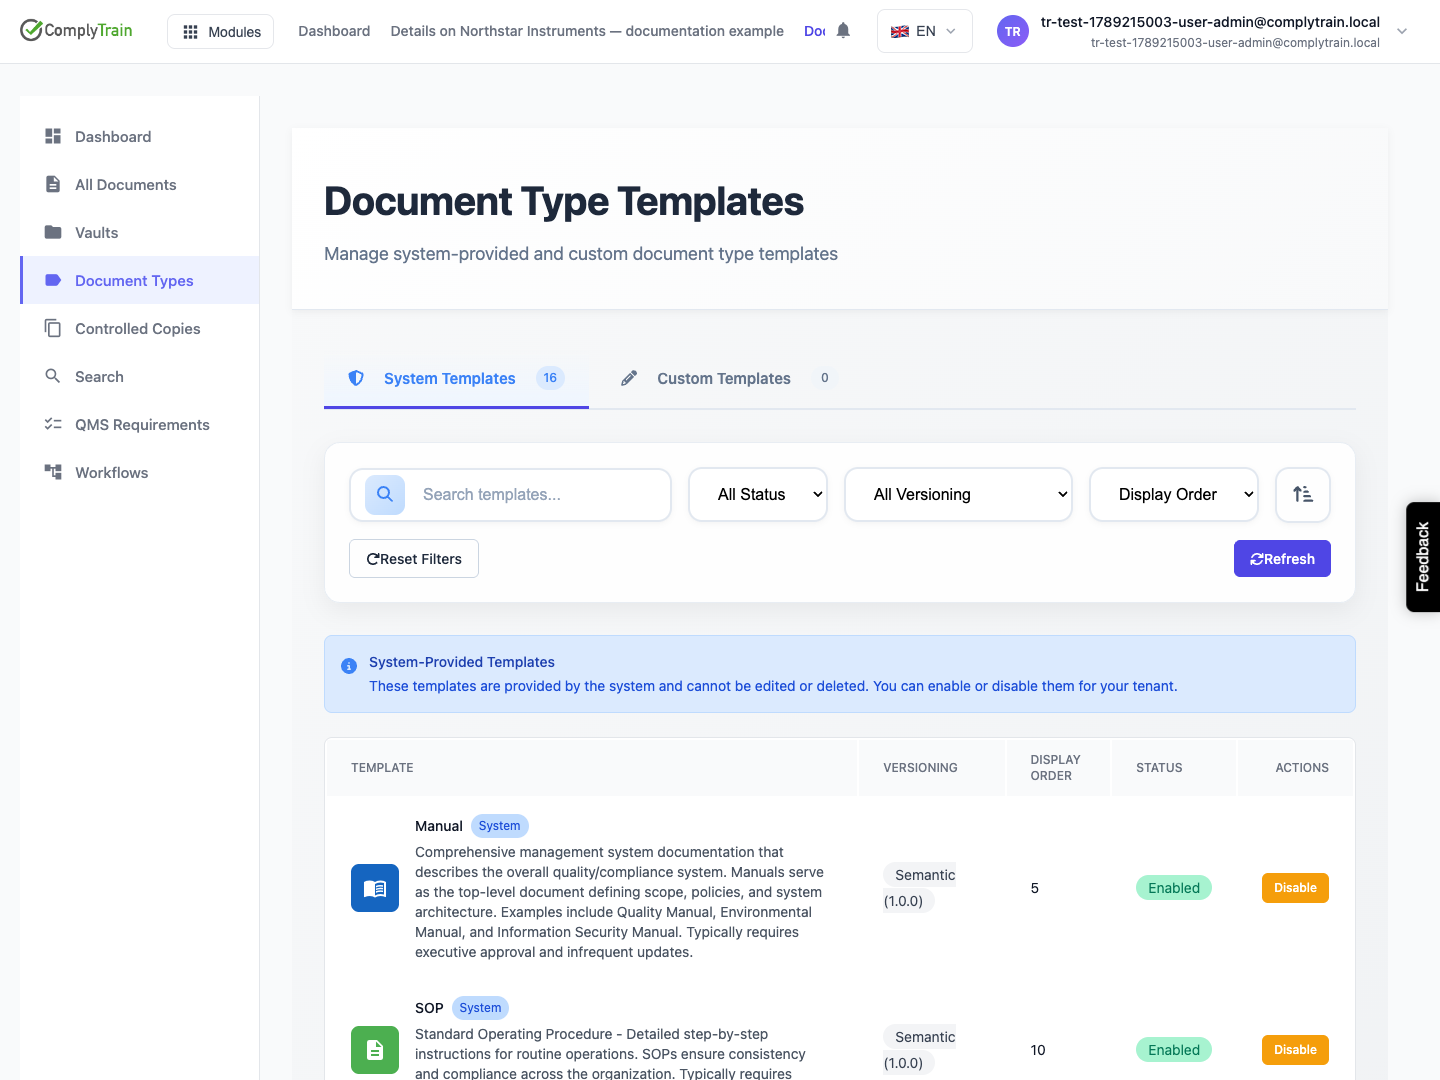
Start with the document type
Product location: /document-vault/document-types
Open the vault's Document Types and create or edit the appropriate type. Use an available template when it fits, then inspect its settings instead of assuming every imported choice suits your process.
Create the workflow states before the transitions that connect them. A transition has an origin and destination; the document-creation origin represents the initial transition. The editor rejects unsupported self-transitions or duplicate connections.
Configure a transition
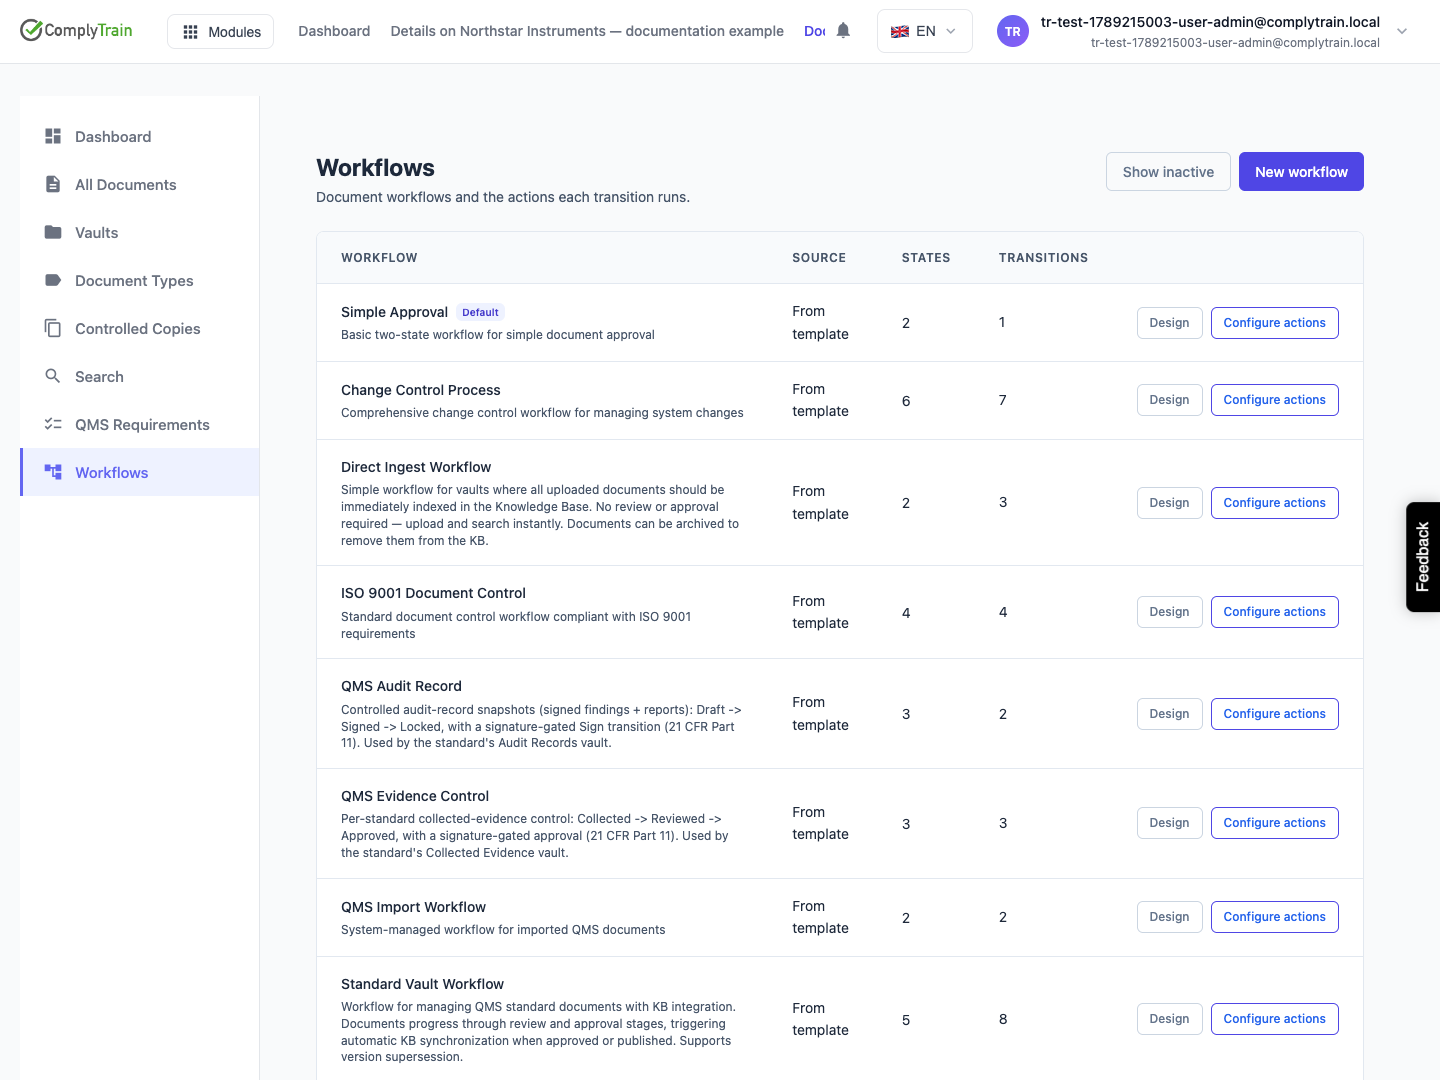
Product location: /document-vault/workflows. Open the applicable workflow and transition.
Give the transition a label users can recognise as an action. Select its source and destination and set its requirements: an electronic signature, a comment, a reason, biometric confirmation or membership of specific groups. Add the available typed workflow actions and complete their configuration.
A named action on a document is an available transition from its current state, subject to the user's permissions and the transition's requirements. Not every state permits the same action.
Use and inspect the workflow
Product location: /document-vault/workflows. Open the applicable workflow and transition.
On the document's Overview, Workflow Status shows the current state, when it was entered and by whom, the actions available to you and any actions you are not permitted to take. Select the intended action, read the destination and requirements, provide the required comment, reason or signature and confirm. Check the resulting state and the History tab.
If an action is missing, check the current state, role permissions and workflow configuration. Changing a template or transition can affect multiple documents using that configuration, so inspect the affected document type before saving broad changes.