Create a drawing, adapt a template, save its preview, or cancel and discard the editing session.
Use a diagram section to explain a process, responsibility structure or relationship visually. Open the drawing to edit its shapes and labels, then choose Save & Close to keep the result and update the document preview. Choose Cancel to discard changes made since you opened the drawing, including changes already autosaved during that session.
The example is a demonstration verification flow. Replace the example activities, responsibilities and decisions with your organisation's actual procedure before sending the document for review.
Product location: /qms/{standardCode}/documents/{documentId} (fallback: /qms/standards). Select Sections; add or select the intended Diagram section.
Open the document's Sections tab and select the section you want to work on.
To add one, choose Add Section, enter its code and name, select Diagram, and choose the appropriate Diagram Type. Set its purpose and whether it is optional, then save the section.
Check its position in the section tree. For example, place Verification flow beside the written verification instructions rather than inside an unrelated procedure.
Open Edit content in editor and select the diagram in Document Outline.
The diagram controls include Templates, Version History and Compare. The Version History control between Templates and Compare opens the diagram's own history. The earlier Version History control opens general section revisions.
You need View documents to read the document and Manage documents to change its drawing. For an approved, locked document, follow the document revision workflow before editing. Use section structure for root/child placement, section fields and deletion.
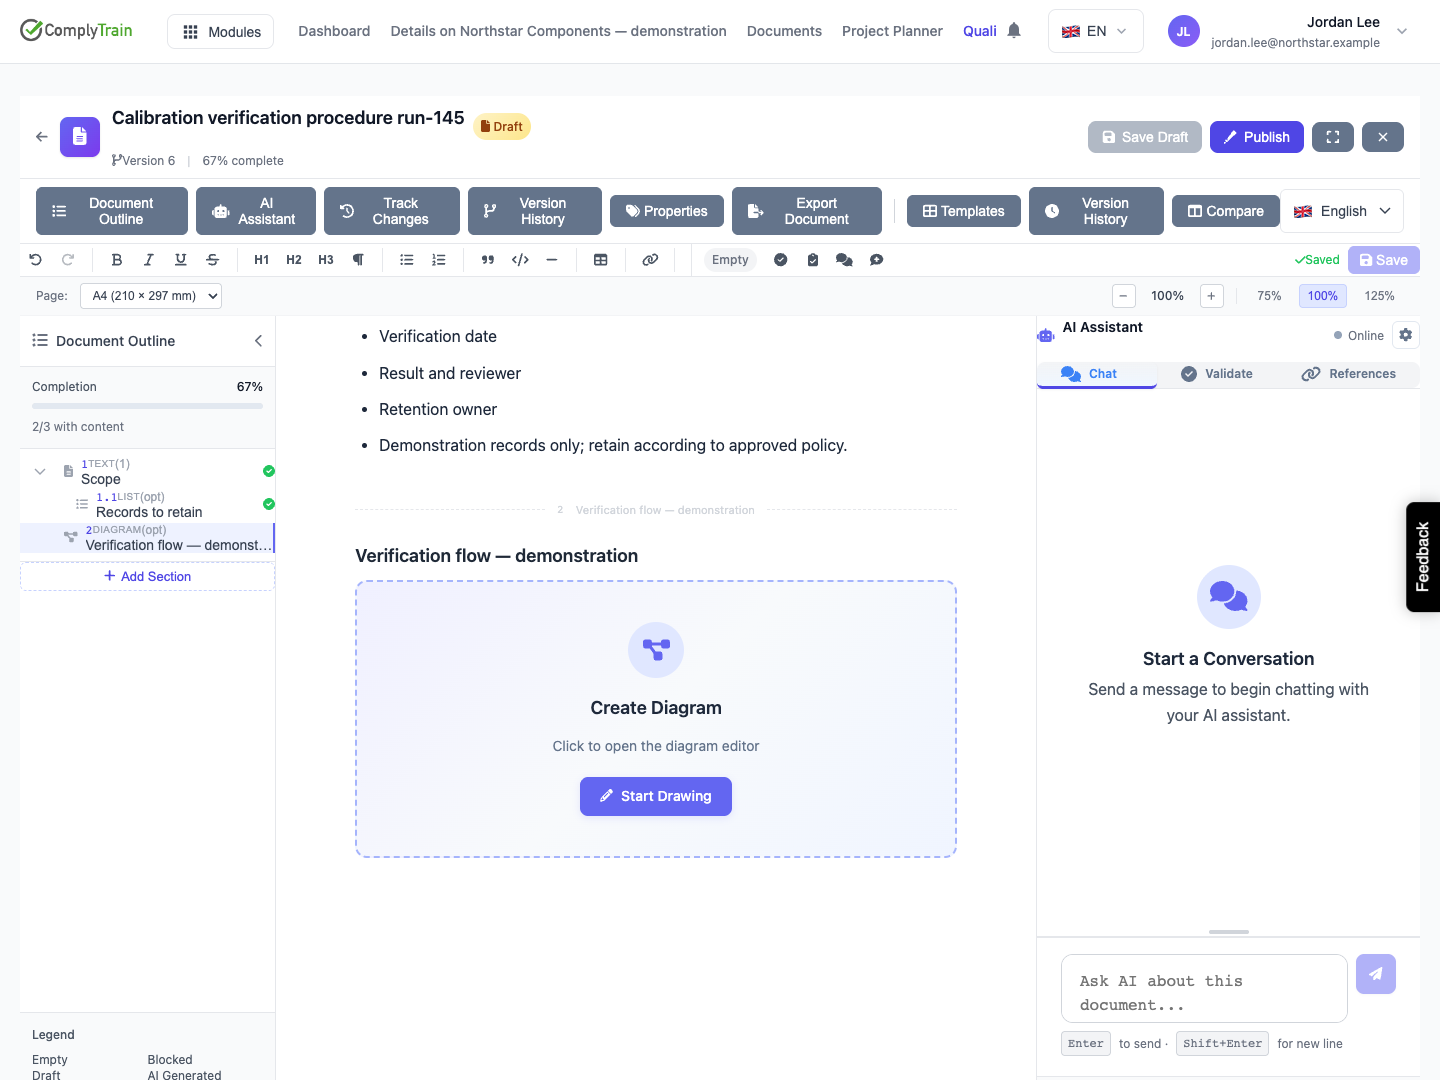
Product location: /qms/{standardCode}/documents/{documentId}/editor (fallback: /qms/standards). Select the diagram; choose Start Drawing or click its preview.
Choose Start Drawing in an empty diagram. To edit an existing drawing, click its preview using Click to Edit. Check the section name above the canvas before making changes.
The embedded editor provides a shape palette on the left, the drawing canvas in the centre, and formatting options for the selected object. Its menus, Undo/Redo and zoom controls apply to the drawing. The surrounding document editor has separate page-size and zoom controls.
Close an unused AI or history panel to give the canvas more room. Use the drawing's zoom menu to inspect detail or Fit Window / Reset View to see its layout. Changing your view helps you inspect the drawing; use shape and text formatting to change what the document's readers will see.
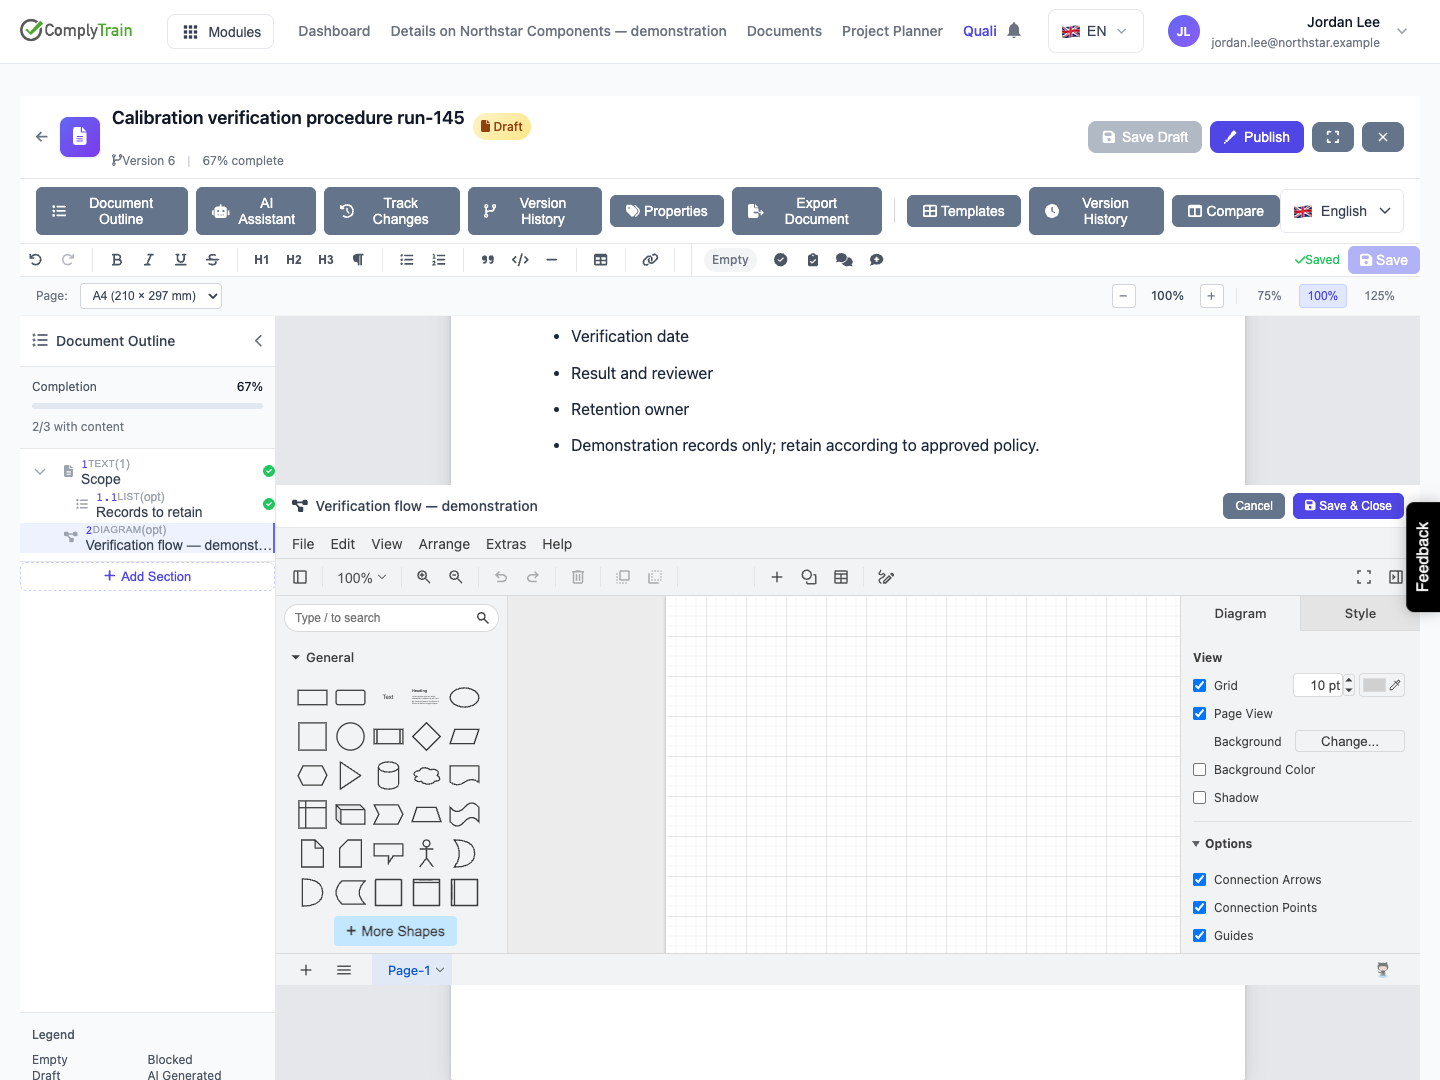
Product location: /qms/{standardCode}/documents/{documentId}/editor (fallback: /qms/standards). Select the diagram and choose Templates; browse or select a starting drawing.
Choose Templates to open Choose a diagram template. Use All to browse the catalogue or choose a category that matches your purpose.
Category | Typical use |
|---|---|
Process flow | Activities, decisions and hand-offs in a procedure. |
Org chart | Roles and reporting relationships. |
Risk matrix | A visual arrangement of risk categories or assessment results. |
Network | Systems and their connections. |
Data flow | Information moving between people, systems or stores. |
Custom | Other reusable drawing layouts. |
Type in Search templates by name or description to search the whole catalogue within the selected category. Showing N of M templates tells you how many are listed; choose Load more to list more. Inspect a template's preview and description, then select it. The drawing opens with the template's content ready to adapt. Check the actual canvas before editing: the template is a starting point, and its labels and connections still need to match your procedure.
Choose Start with a blank diagram when you want to build the layout yourself. When nothing matches, the gallery shows No templates match this category or search.; choose Clear search, return to All or start blank. Close the gallery without selecting anything when you only want to browse. A category selection alone leaves your drawing unchanged. If the catalogue cannot be loaded, the gallery says so and your drawing is unchanged; choose Retry. If a selected template cannot be loaded, nothing is changed; try again or choose another template.
When replacing an existing drawing with a template or blank canvas, inspect the replacement before choosing Save & Close. Cancel the drawing session to return to the state you opened.
Product location: /qms/{standardCode}/documents/{documentId}/editor (fallback: /qms/standards). Open the drawing and use its palette, label editor and formatting controls.
Choose or drag a shape from General onto the canvas. Use the shape search or More Shapes when you need another library.
Select the shape and enter its label. For a rectangle, double-click the label or press F2 to edit it.
Enter a short activity name, such as Collect verification record. Finish text editing with Ctrl+Enter (Windows) or Cmd+Enter (Mac), or by leaving the text editor.
Move and resize the shape so its label is readable. Use the formatting panel to adjust the selected object's text, fill and line.
Add the next activity, such as Review verification record, and arrange the shapes in reading order.
Use the drawing's Undo and Redo controls while refining the layout. Before deleting a selected object, check that the selection contains only the shapes or connectors you intend to remove. Keep demonstration labels out of the final approved procedure.
Product location: /qms/{standardCode}/documents/{documentId}/editor (fallback: /qms/standards). Open the drawing; connect activities and label each decision branch.
Connect related shapes to show how the reader moves through the flow. Check both endpoints so a connector follows the intended shapes when you move them. Give arrows a consistent direction, and keep crossings and long return paths easy to follow.
For a decision, label the question and each outgoing branch. For example, Record complete? can lead to Approve record on Yes and Return for completion on No. Follow both branches yourself and confirm that each reaches an activity or an explicit end.
Include the responsible role where the diagram would otherwise leave ownership unclear. Check the diagram against the written section: activity names, decision criteria and responsibilities should agree. A saved drawing records your work; the author and reviewer still need to judge whether the described process is correct.
Product location: /qms/{standardCode}/documents/{documentId}/editor (fallback: /qms/standards). Open the drawing; use Save & Close to retain changes or Cancel to discard this session.
The drawing autosaves as you work while the editor is open. Use Save & Close when you want to finish editing and keep the current result. Use Cancel when you want to abandon this editing session.
Action | Result |
|---|---|
Continue editing | Working changes are autosaved while the drawing remains open. |
Save & Close | Keeps the current drawing, refreshes its document preview and closes the drawing editor after saving. It records a revision in the section history and a Saved version in the diagram's history. |
Cancel | Discards changes made since opening the drawing, including changes already autosaved during the session, and closes the drawing editor. |
Reopen a drawing after Save & Close | Opens the saved result for a new editing session. |
Reopen a drawing after Cancel | Opens the drawing as it was before the canceled session. |
Cancel applies to the current drawing session. It does not delete the diagram section or undo an earlier completed session. For example, if you save a drawing, reopen it and change Collect to Review, Cancel discards that later change and keeps the previously saved Collect drawing.
Pressing Escape in the document editor while the drawing is open also cancels the session. To discard only one recent operation while keeping the rest of your session, use Undo inside the drawing instead. A Cancel button inside a separate confirmation dialog cancels that dialog's operation.
Product location: /qms/{standardCode}/documents/{documentId}/editor (fallback: /qms/standards). Choose Save & Close and inspect the saved preview and reopened drawing.
Finish editing the current label and inspect the drawing at a useful zoom.
Choose Save & Close above the drawing canvas.
Wait for the save to finish (the button shows Saving…) and the drawing editor to close.
Inspect the preview in the document. Check labels, connections, ordering and readability in context with the surrounding text.
Reopen the drawing when you need to make another change, and finish that session with Save & Close or Cancel.
The saved drawing remains editable, and the document uses its rendered preview for reading. When reviewing a significant change, reload the document and check that both the visible preview and reopened drawing show the result you intended.
Continue through the document's review and approval steps after authoring. Saving the drawing does not approve or publish the document.
Product location: /qms/{standardCode}/documents/{documentId}/editor (fallback: /qms/standards). Keep the drawing open and resolve the save message before retrying.
If the drawing editor cannot load, choose Retry. For a save failure, keep the current drawing open, read the message, and restore the connection or required access before retrying. Wait for confirmation before leaving the document.
If another author has changed the section, coordinate with them before replacing its content. Review the current saved drawing and agree which edits should be retained. A locked document must follow the normal revision process before changes can be saved.
Choose Cancel only when you want to discard your current drawing session. If the original drawing cannot be put back, the drawing editor stays open and says so. Choose Cancel again, or choose Save & Close to keep the current drawing instead. If you need the edits, resolve the save and use Save & Close before changing documents.
Product location: /qms/{standardCode}/documents/{documentId}/editor (fallback: /qms/standards). Select the diagram and open its Version History; review the exported document separately.
Open the diagram-specific Version History to review saved versions. Use Compare to inspect changes and Restore when you need an earlier drawing. See diagram history and restoration for selecting the correct record and checking the result.
Before distributing a document, inspect the diagram in the actual exported file: text must remain readable, connectors must be visible, and the drawing must sit correctly beside the procedure. Follow document export and publication and revision for the document's remaining steps.
