Choose submission wording, validation timing, layout, wizard navigation, draft availability and section requirements, then rehearse the form.
Use Form Settings to decide how a form is presented and how respondents complete it. Begin with the task: a short equipment check may suit a single page, while a longer review can benefit from separate steps and saved drafts.
Product location: /qms/{standardCode}/forms/{templateId}/edit (fallback: /qms/standards). Open Form Settings, save the intended changes and reopen them.
Open the intended standard's Forms catalogue.
Choose Edit Form on the correct template, then Form Settings in the builder.
Change the relevant controls and select Save Settings.
Wait for confirmation, reopen the settings and check the saved choices. Use Preview to inspect their effect on the form.
QMS Manage forms is required to change settings. If saving fails, retain the values you intended to enter and resolve the displayed error before leaving the editor. Confirm the template title when returning to an interrupted design task.
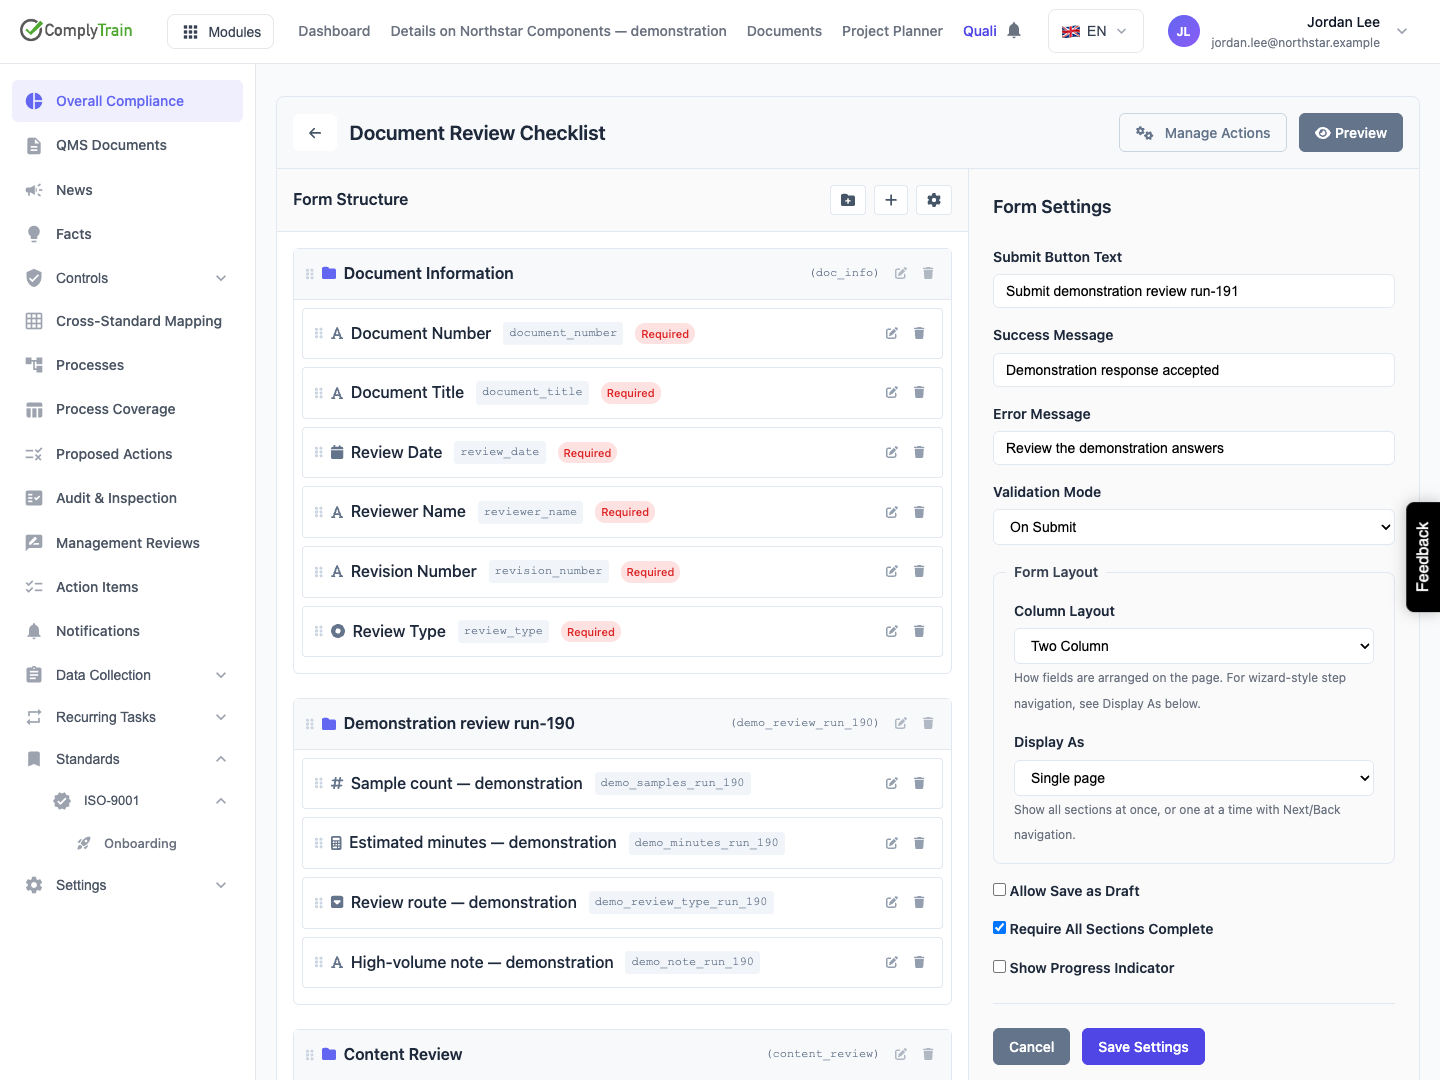
Product location: /qms/{standardCode}/forms/{templateId}/edit (fallback: /qms/standards). Open Form Settings and edit the submission wording.
Control | What to enter | Length |
|---|---|---|
Submit Button Text | A concise action such as Submit review or Complete inspection. | Up to 100 characters. |
Success Message | Explain that the response has been submitted and what the respondent should do next. | Up to 500 characters. |
Error Message | Give useful guidance when the submission cannot be completed. | Up to 500 characters. |
Choose wording that matches the actual process. For example, use “Review submitted for follow-up” when someone still needs to act on the response. A button label alone does not configure approval or make the resulting record approved.
Field validation identifies individual answers that need attention. The overall message should complement those details. After a successful response, also review the automatic-output results when records or tasks are expected.
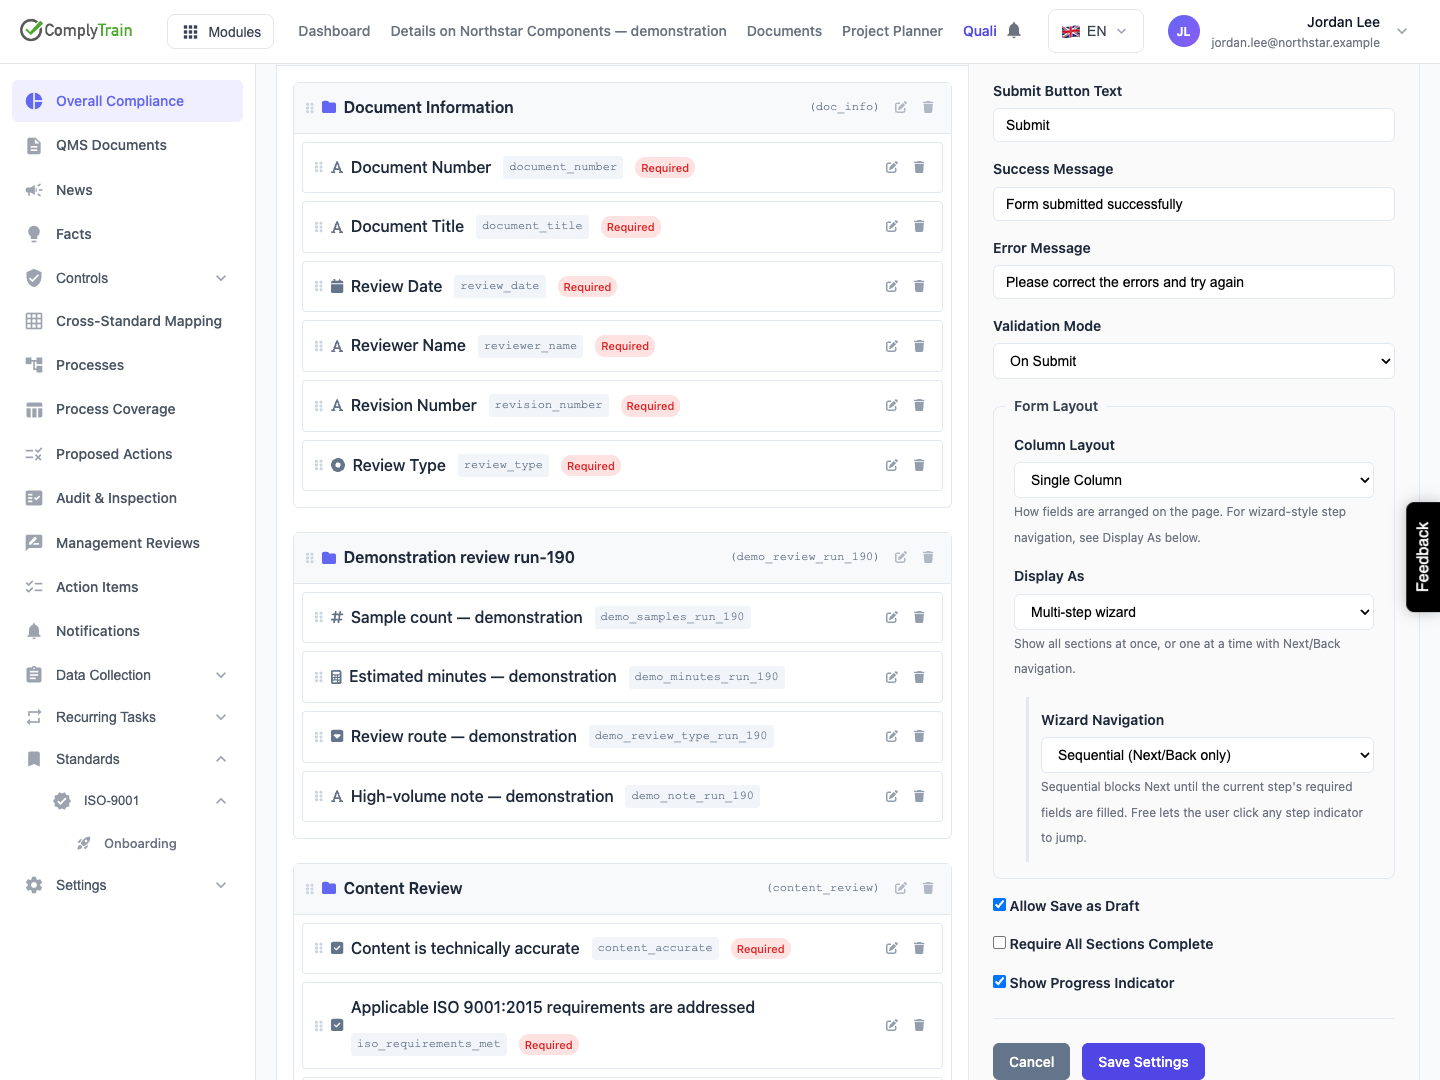
Product location: /qms/{standardCode}/forms/{templateId}/edit (fallback: /qms/standards). Open Form Settings and choose Validation Mode.
Validation Mode | Respondent experience | Useful when |
|---|---|---|
On Submit | Errors appear when the respondent attempts to submit. | People need to enter a complete answer before reviewing feedback. |
On Field Exit | A field is checked after the respondent leaves it. | You want early feedback without interrupting typing. |
Real-Time | Feedback follows changes as the respondent types. | Short fields have clear formats or ranges. |
Required flags, allowed values and validation timing are separate choices. With On Submit, the submit action can remain available so a respondent can request the list of errors. Other modes can prevent submission while errors remain.
Try an empty required question, an invalid value and a corrected value in the preview. Confirm that the message points to the question and that correction removes the error. Use field validation settings to change the rule itself.
Product location: /qms/{standardCode}/forms/{templateId}/edit (fallback: /qms/standards). Open Form Settings and choose Column Layout.
Column Layout controls how questions are arranged within the available space.
Single Column presents questions vertically. It is useful for long labels, instructions and narrative answers.
Two Column places questions alongside one another where space permits. It can make short related questions easier to compare.
Check both wide and narrow layouts. Labels, help text, selection lists and validation messages should remain readable. Keep the question order meaningful when the available width causes fields to stack.
Product location: /qms/{standardCode}/forms/{templateId}/edit (fallback: /qms/standards). Open Form Settings and choose Display As.
Display As controls the presentation of sections. Single page shows the sections on one page. Multi-step wizard presents sections as steps.
Choose a single page when respondents benefit from seeing the whole questionnaire. Choose a wizard when they should work through distinct stages, such as identification, assessment and a final decision. Give each section a useful name because that name also identifies its wizard step.
For a single page, review each section's collapsible and initially collapsed settings in section organisation. Column layout and section presentation answer different questions; review both when changing the form's layout.
Product location: /qms/{standardCode}/forms/{templateId}/edit (fallback: /qms/standards). Choose Multi-step wizard, then Wizard Navigation.
When Display As is Multi-step wizard, review Wizard Navigation.
Choice | How respondents move |
|---|---|
Sequential (Next/Back only) | Use the navigation controls to progress through the steps, correcting required answers before continuing. |
Free (jump between steps) | Select a step directly when they need to work out of order. |
Use sequential navigation when later answers depend on earlier information. Free navigation can help someone collect information from several sources. In either case, the final response must pass its validation requirements.
If you switch away from wizard presentation and later enable it again, review the navigation choice before saving. Test moving forward, returning to a previous step and revisiting an answer that needs correction.
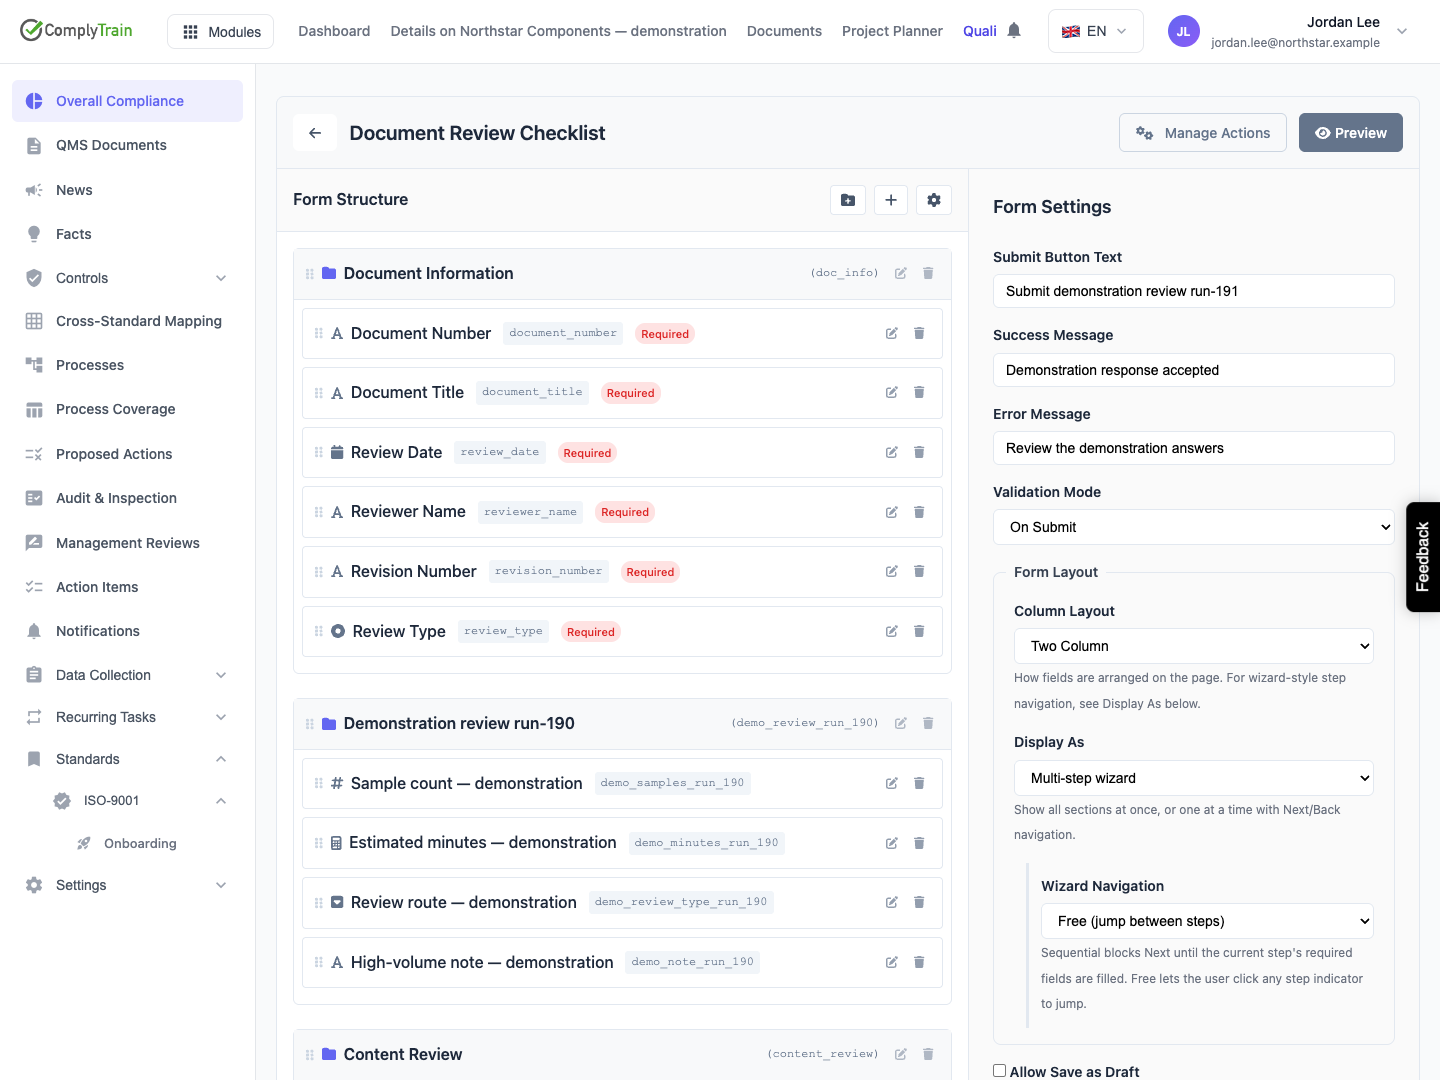
Product location: /qms/{standardCode}/forms/{templateId}/edit (fallback: /qms/standards). Open Form Settings and set Allow Save as Draft.
Enable Allow Save as Draft when someone may need to pause and return with more information. The response then offers Save Draft, and a saved draft can be resumed through Data Collection → Drafts.
Disable it when the form should be completed in one submission. Decide this from the task's expected length and the information respondents must collect. A draft preserves unfinished work; it is not a completed response or approval.
Test the intended leave-and-return journey before distributing the form. See saved form drafts for the respondent's steps and completing a form for final submission.
Product location: /qms/{standardCode}/forms/{templateId}/edit (fallback: /qms/standards). Open Form Settings and review Require All Sections Complete and Show Progress Indicator.
Require All Sections Complete requires an answer in each section before submission. Individual questions marked Required must still be answered; one answer in a section does not satisfy its other required questions.
Enable this when every section needs a contribution. Review optional or conditional sections carefully so the form remains appropriate for every intended respondent. Test a section with no answers and then supply a valid answer to confirm the resulting behaviour.
Show Progress Indicator displays completion progress while someone fills in the form. Enable it when the indication helps respondents understand how much remains. For a short form, you may prefer to hide it.
Progress is an indication of entered information. Validation, successful submission, automatic outputs and approval are separate checks. In a form with repeating entries, review each entry's answers as well as the overall display.
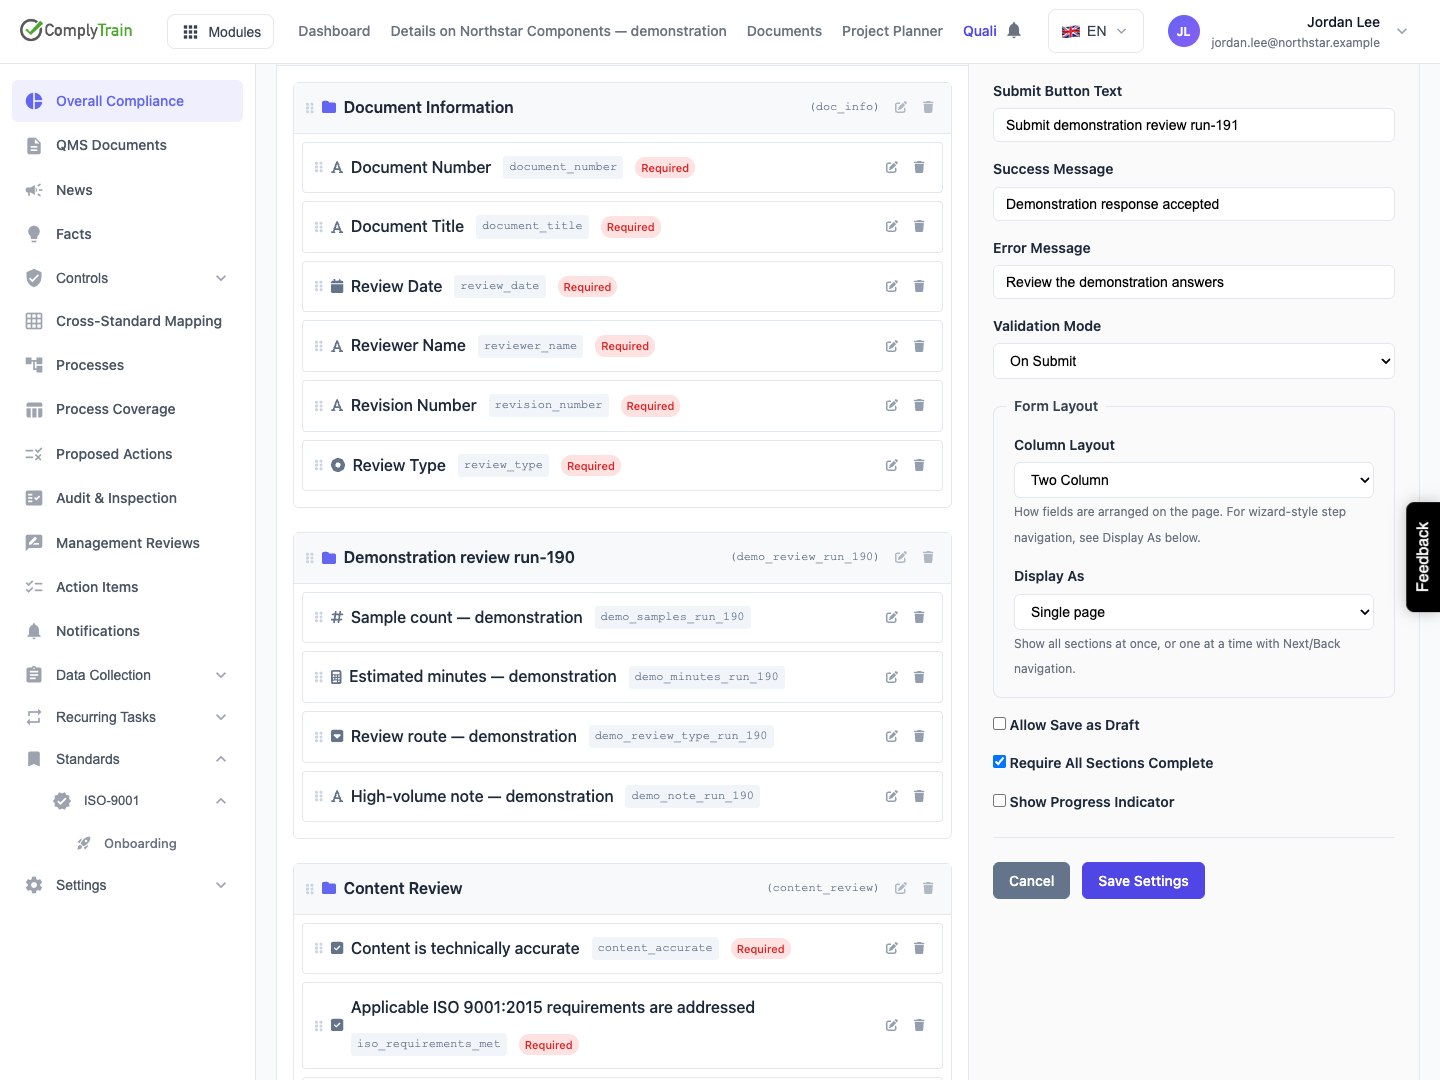
Product location: /qms/{standardCode}/forms/{templateId}/edit (fallback: /qms/standards). Save changes and choose Preview. Return through Edit Mode.
Select Preview after saving the intended field, section and settings changes. Work through a representative example from the first question to the final step.
Read labels and help text as a respondent would.
Check defaults, selection options and conditional questions.
Enter values that exercise calculations and any repeating entries.
Try missing and invalid answers, then correct them.
Check section movement, the submit label, draft availability and progress presentation.
Return through Edit Mode to adjust the definition, save, and inspect it again.
Preview is a rehearsal of the form. Values entered there do not create operational drafts, submitted responses or automatic outputs. Keep demonstration input separate from the real response used to validate the complete process.
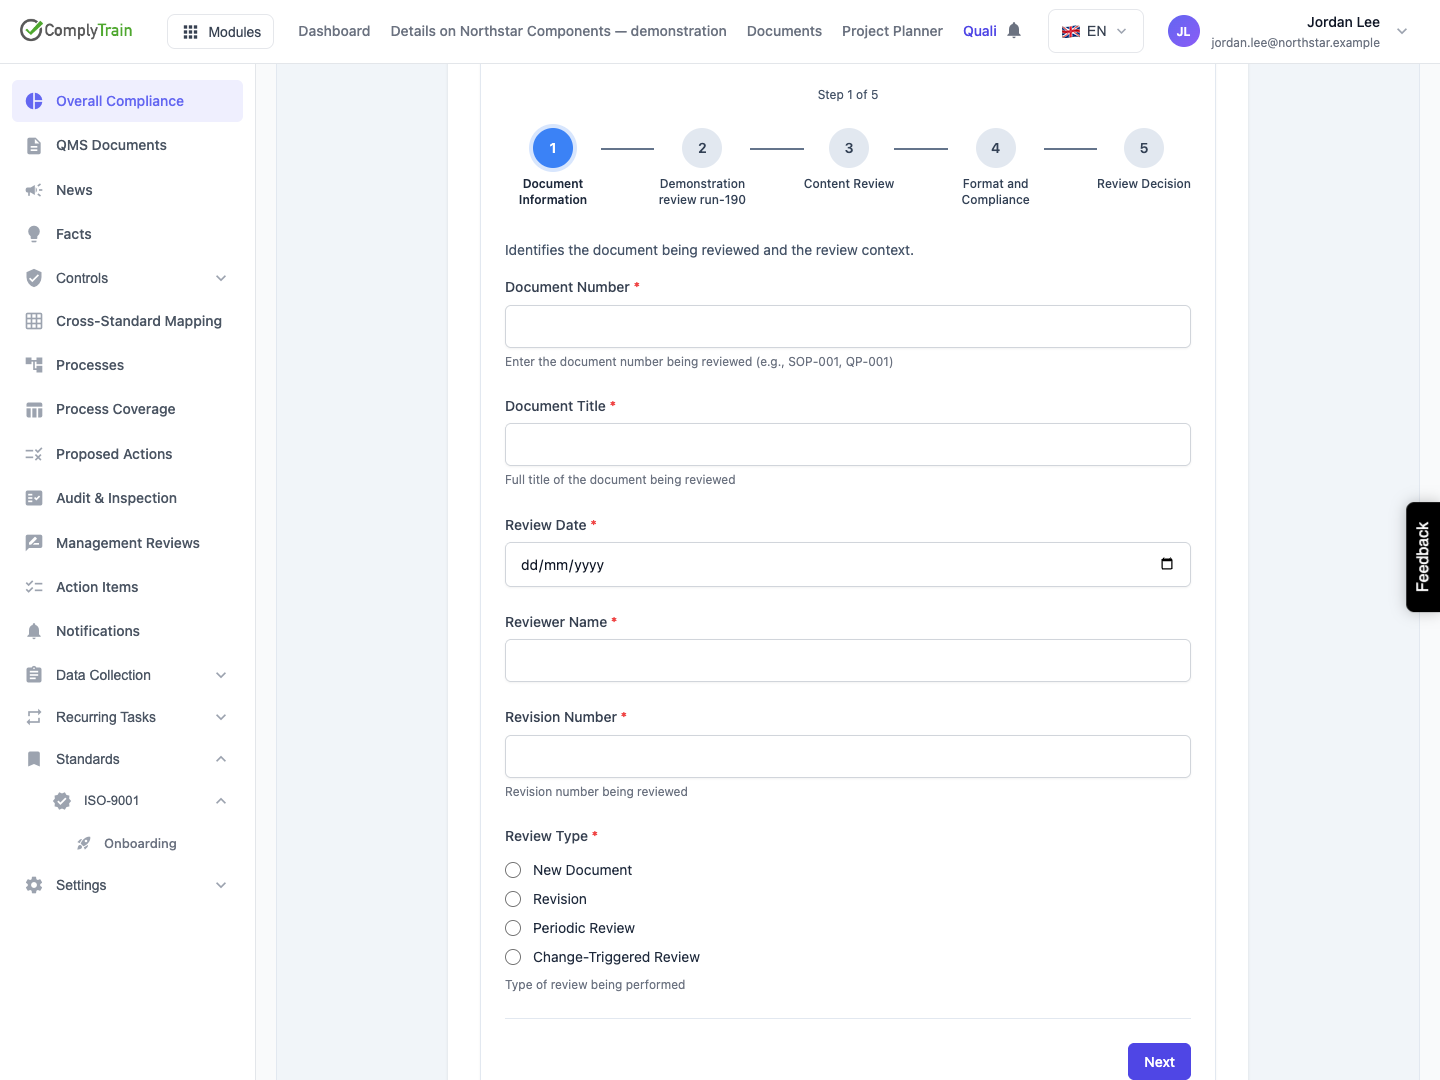
Product location: /qms/{standardCode}/forms (fallback: /qms/standards). Open the standard Forms catalogue, start a demonstration response and inspect its saved result.
Before distributing the form, complete an authorised demonstration response from the standard's Forms catalogue using the role that will normally submit it. Confirm any training prerequisites and check the saved answers after submission.
If drafts are enabled, save a partial response and reopen it before completing the example. If output rules are configured, follow their results to the actual records, tasks or other destinations. Check any approval stage separately.
Keep the form's owner informed of the final settings and the work expected from respondents. See reviewing submissions and outputs for the result checks.
